Genius Trick: How to Defrost Your Freezer Fast and Efficiently (Without the Hassle!)
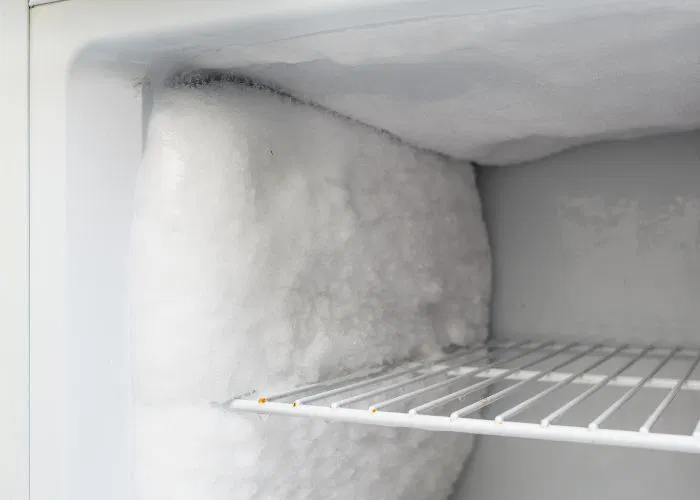
Keeping your freezer clean and ice-free is not just about hygiene; it’s about saving money. Did you know that a layer of ice just half a centimeter thick can increase your electricity consumption by up to 30%? Furthermore, the buildup forces the motor to work harder, increasing the risk of premature breakdown.
Do you want to get rid of the ice quickly without waiting for hours? Here is a homemade spray method that melts ice right before your eyes.
1. The “Miracle” Rapid Defrost Spray
This solution is ideal for quick cleaning or weekly maintenance. It not only melts the ice but also disinfects surfaces thanks to the vinegar.
Ingredients Needed:
1 cup white vinegar (acetic acid attacks the ice structure).
1 cup hot water.
1 tablespoon rubbing alcohol (optional, helps it evaporate faster).
A spray bottle.
How to Apply:
Prep: Remove food from the freezer and place it in a cooler or thermal bags.
Mix: Pour all ingredients into the spray bottle and shake well.
Spray: Spray the solution liberally directly onto the icy areas.
Wait: Let it sit for 5–10 minutes. The combination of heat and vinegar will cause the ice to crack and melt.
Clean: Remove the detached ice with a plastic spatula (never metal!) and wipe away the water with a dry cloth.
2. The Classic Method: Steam (For Thick Ice Layers)
If the ice layer is thicker than 3–4 mm, you can combine the spray above with the hot water method.
Freezer cleaning kit
Steps to Follow:
Protect the Floor: Place old towels or absorbent rags at the base of the freezer to catch any water runoff.
Steam Bath: Boil water and pour it into heat-resistant containers (pots or ceramic bowls). Place them inside the freezer on a trivet or mat (do not place hot pots directly on cold plastic) and close the door.
Wait: Let the steam work its magic for 15–20 minutes.
Remove: Open the door; the ice should be soft and easy to scrape off with your plastic spatula.
Dry: It is crucial to wipe the freezer walls until they are completely dry before putting the food back in.
Why Is This Important?
Lower Bills: Ice acts as unwanted thermal insulation. Without it, the motor cools more easily and uses less electricity.
Protect the Motor: You prevent the compressor from overheating.
Hygiene: You improve air circulation and eliminate bacteria or unpleasant odors.
⚠️ Golden Rules and Safety Measures
Even though the spray method allows for quick cleaning, safety is the priority. Here is what you need to remember:
NO Metal Objects: Knives, screwdrivers, or other sharp tools can puncture the freezer walls and pierce the freon pipes, destroying the appliance permanently. Use only plastic or wood scrapers.
Electrical Safety: While this trick is often shared as a method to do “without unplugging” (for speed), the official and safest recommendation is always to unplug the appliance before working with liquids inside it to avoid any risk of electric shock.
Don’t Leave Water Behind: Ensure all corners and seals are perfectly dry before restarting the cooling process, otherwise, ice will form again very quickly.
Rest Period: If you did unplug the fridge, let it “rest” for 10–15 minutes after cleaning before plugging it back in.
Note: This article is for informational purposes. For instructions specific to your model, please consult the manufacturer’s manual