Bleach Stains on Your Clothes? No Need to Throw Them Away: Here’s the Solution
Let me tell you about the time I ruined my favorite shirt.
It was a black linen blouse—perfect for summer, versatile, and expensive enough that I’d regretted buying it. I was cleaning the bathroom, wearing an old t-shirt, when I splashed a little bleach on my arm. I rinsed it off without thinking, grabbed a towel, and wiped my arm.
Then I realized I’d wiped my arm on the black linen blouse that was hanging on the back of the door.
One white splotch. Right on the front.
I stared at it for a full minute, hoping it would disappear. It didn’t. I considered throwing the shirt away. I considered wearing it anyway and pretending it was an intentional design choice.

Then I remembered something I’d read years ago: you can fix bleach stains. You don’t have to throw the garment away.
I did some research, gathered the supplies, and got to work. And it worked. The shirt was saved.
Today, I’m sharing that solution with you. Because everyone deserves a second chance—even your favorite black shirt.
The Science of Bleach Stains (Why They Happen)
Before we get to the fix, let’s understand the problem.
Bleach removes color from fabric through a chemical process called oxidation. It breaks down the chemical bonds in the dyes and pigments that give fabric its color. The result is a permanent loss of color—a bleach stain.
The good news is that you can restore the color by dyeing the fabric. The bad news is that the stain is permanent unless you either cover it up or re-dye the entire garment.
But there’s a third option: you can use a fabric marker, dye pen, or careful application of fabric dye to spot-treat the stain.
What You’ll Need
Fabric marker or dye pen in the right color (or fabric paint)
Rubbing alcohol (optional)
Cotton swabs
A clean, white towel
A well-ventilated area
Patience
Step-by-Step Instructions
Step 1: Assess the Damage
Before you start, take a good look at the stain.
Is it a small spot or a large splotch?
Is it on a dark color or a light color?
Is the fabric delicate (silk, linen) or sturdy (cotton, denim)?
The bigger the stain, the more difficult the fix. If you’re dealing with a small spot on a dark-colored garment, you have a good chance of success. If it’s a large spot or a light-colored garment, you may need to consider dyeing the entire garment.
Step 2: Choose Your Weapon
Option A: Fabric Marker or Dye Pen
This is the easiest and most accessible option. Fabric markers and dye pens are available at craft stores. Choose one that matches your garment’s color as closely as possible.
Option B: Fabric Paint
Fabric paint can also work, especially for larger spots. Just be sure to thin it slightly so it blends evenly.
Option C: Dye the Entire Garment
If the stain is too large or noticeable, you might need to dye the entire garment a darker color.
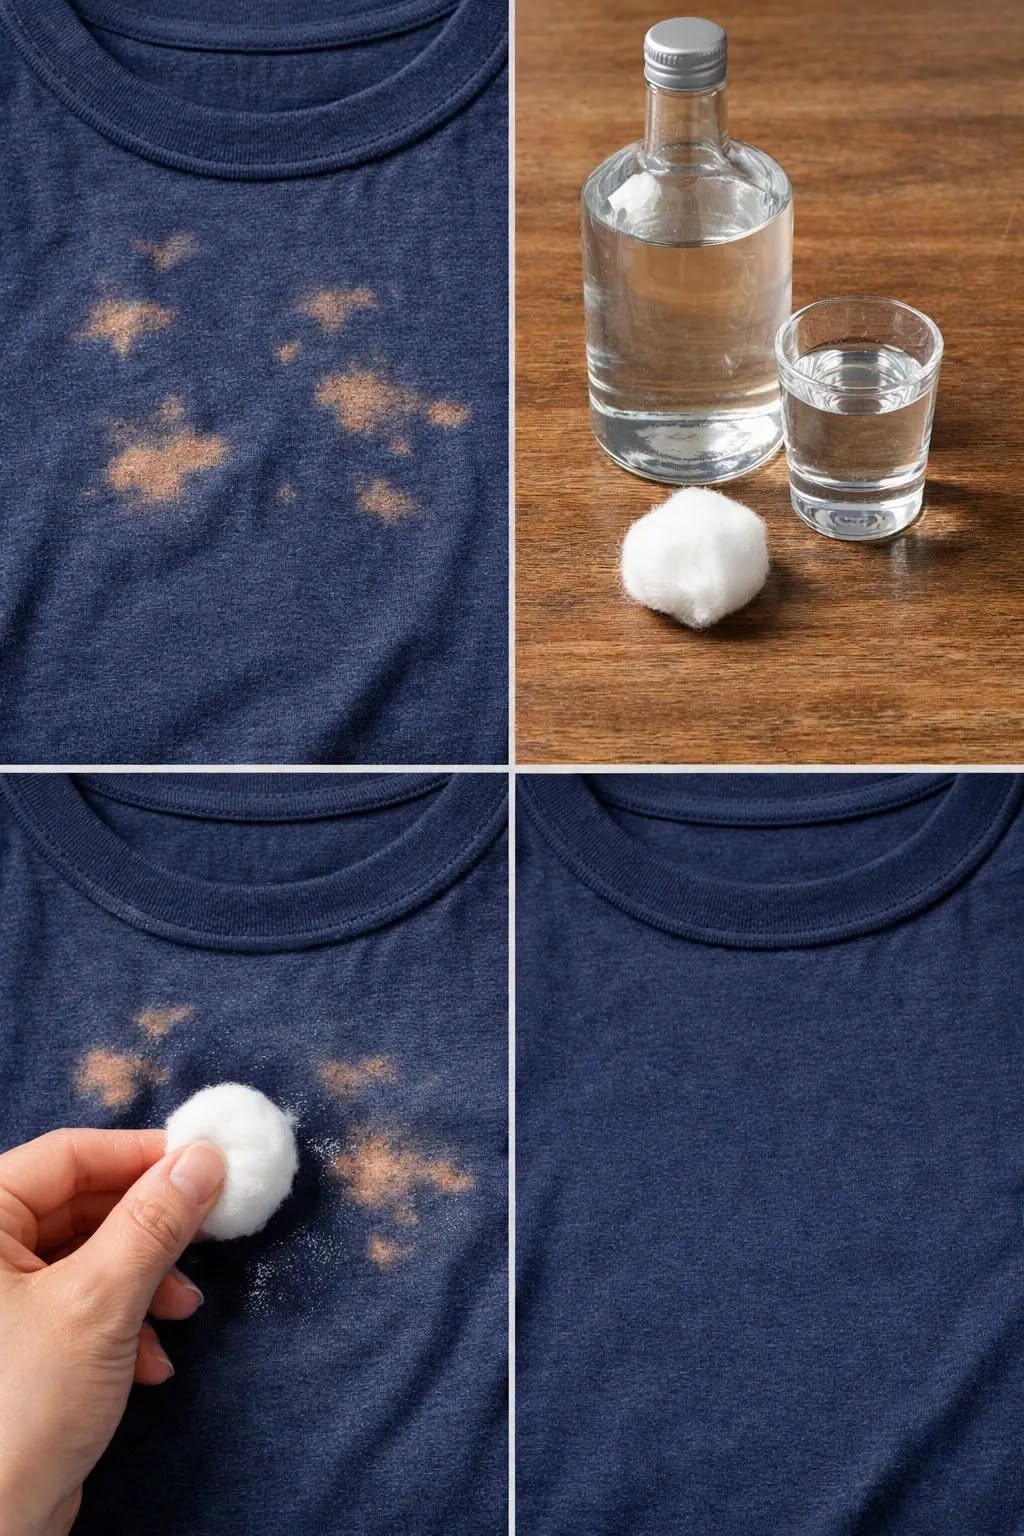
Step 3: Prepare the Area
Find a well-ventilated area (open a window). Lay the garment flat on a clean, white towel. The white towel will catch any bleeding and prevent you from staining your work surface.
Step 4: Apply the Marker or Dye
Test first: If you have a fabric marker, test it on a hidden part of the garment to make sure the color matches